BILLY Bookcase
Safety warning
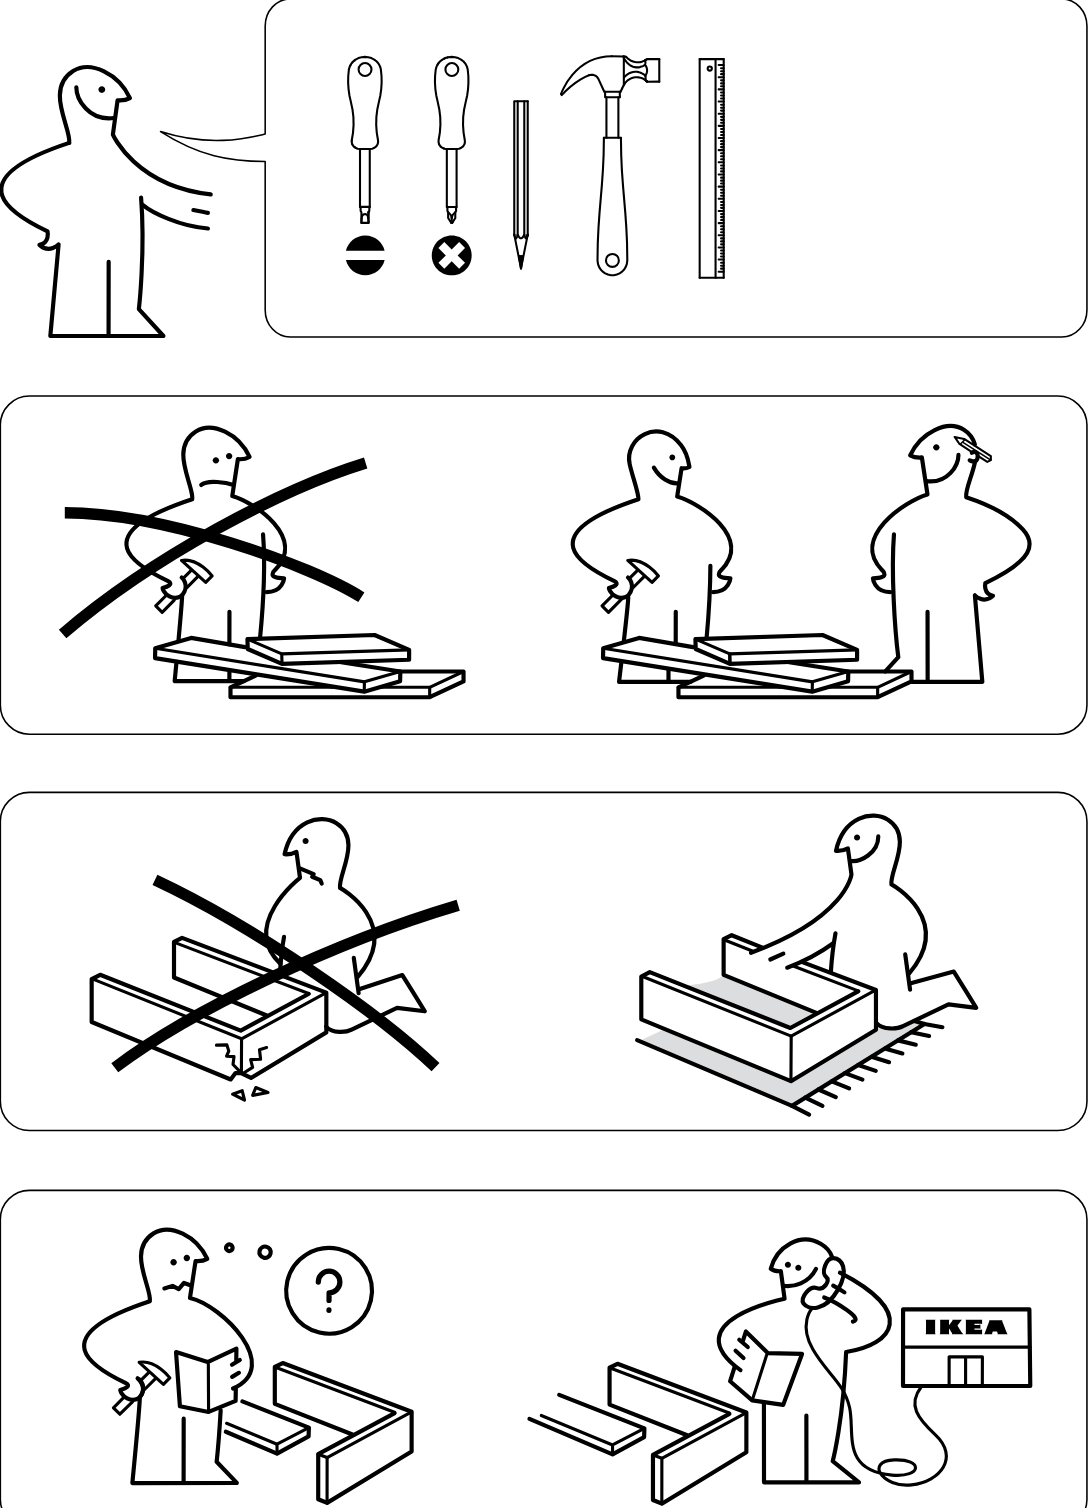
Multilingual anti-tip-over safety warning page with a large warning symbol and text explaining that the furniture must be attached to the wall using suitable wall fasteners.
Safety warning
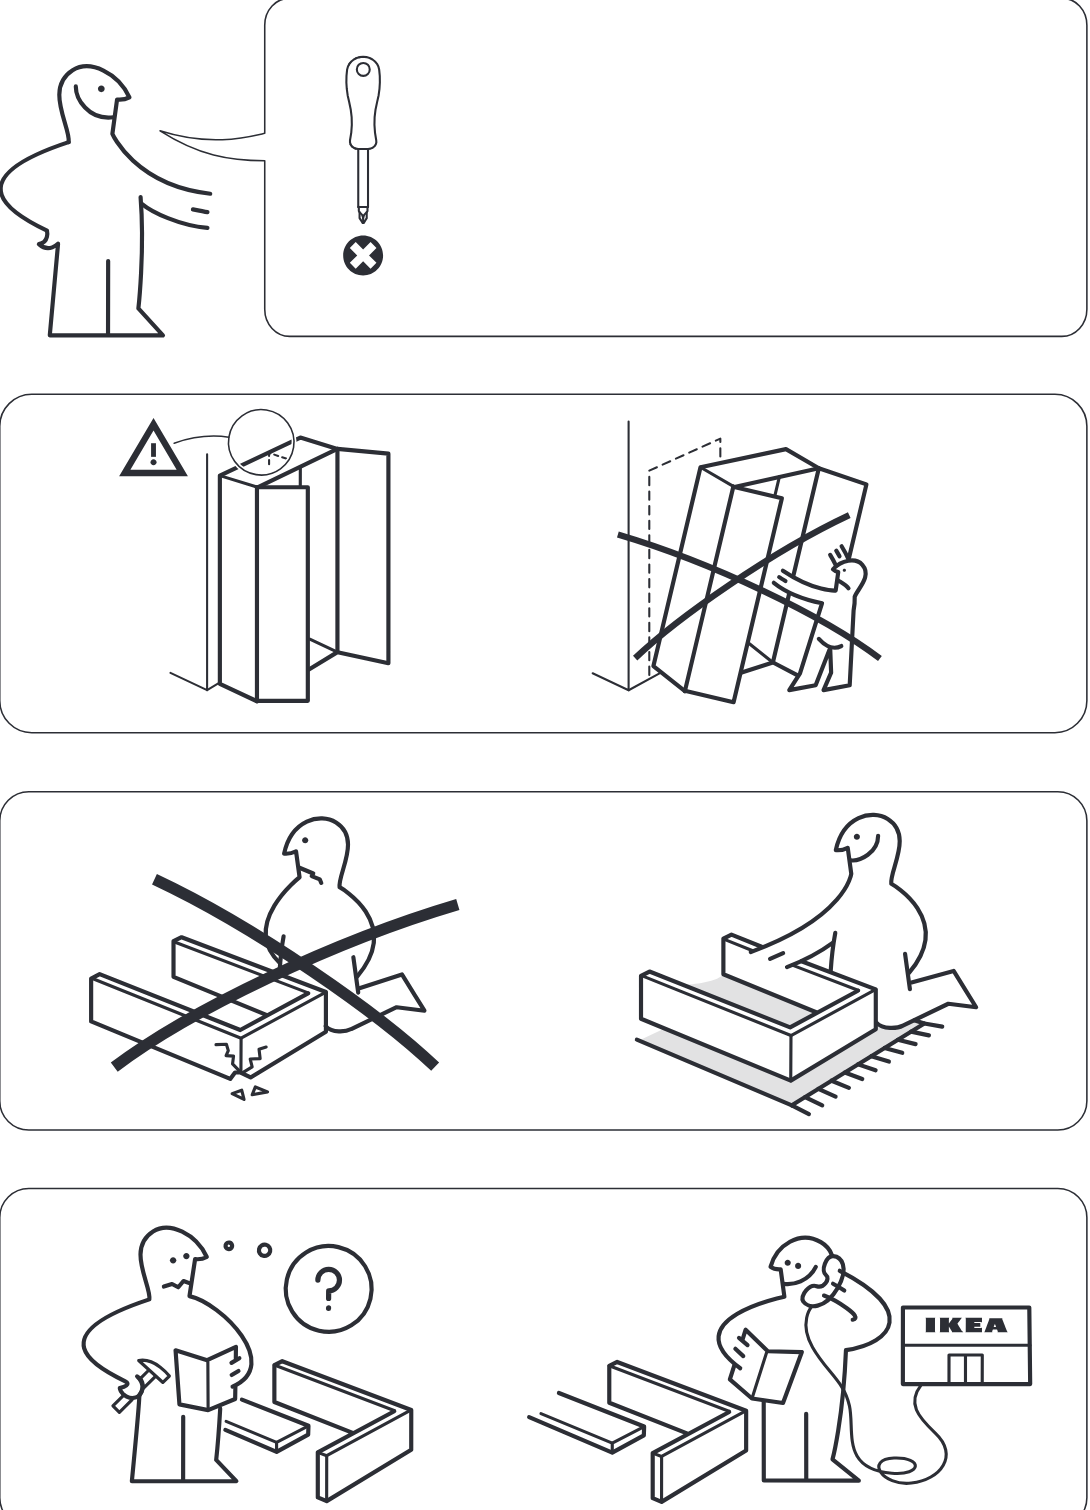
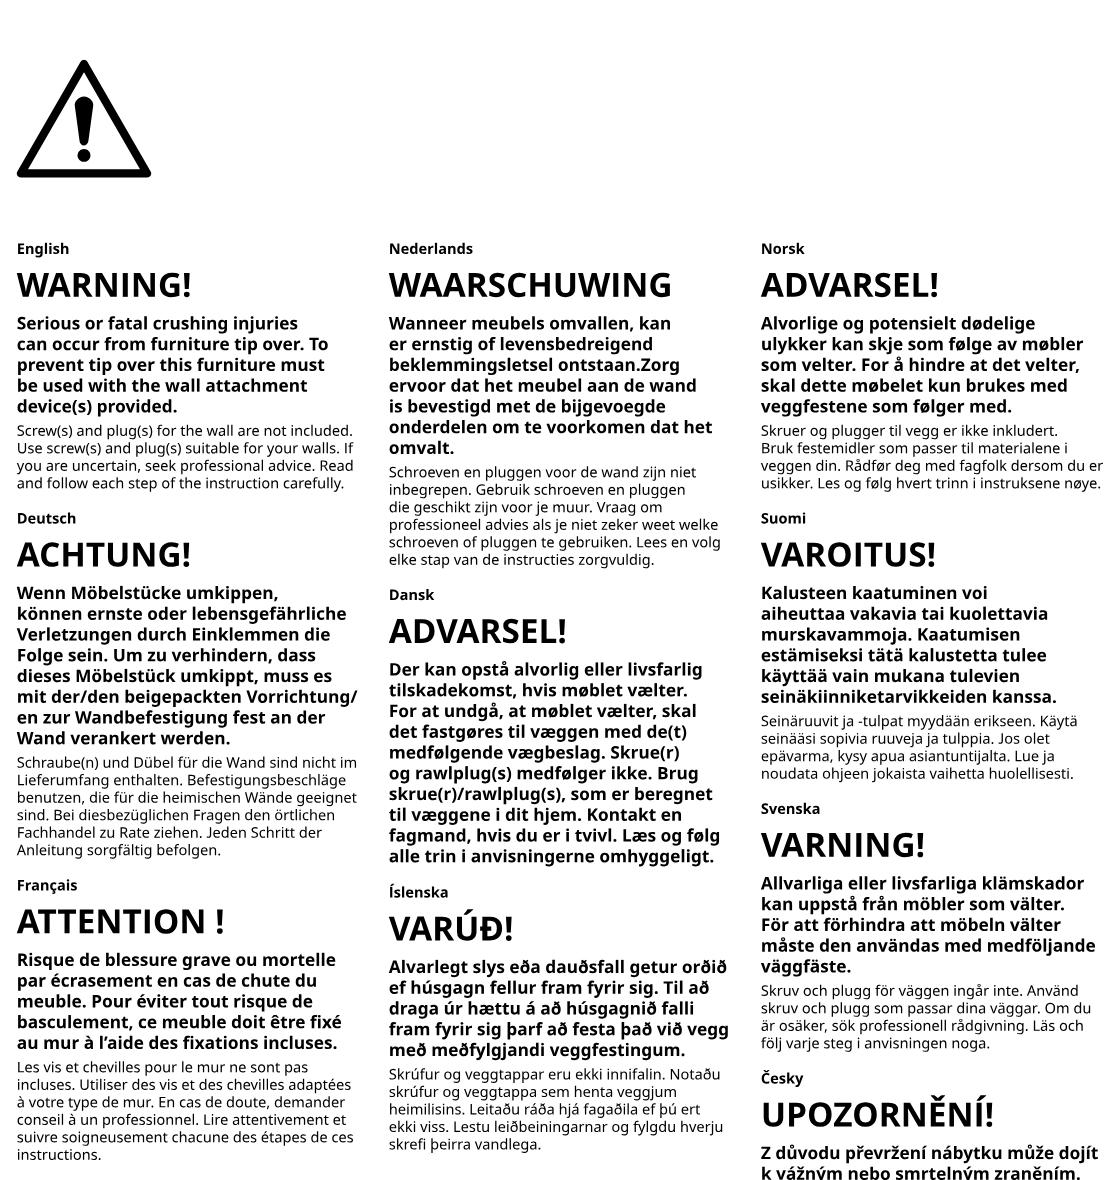
Four stacked preparation and safety panels show required tools, that assembly should be done by two people, that the item should be assembled on a soft surface rather than directly on the floor, and to consult the instructions or contact IKEA support if unsure.
Safety warning
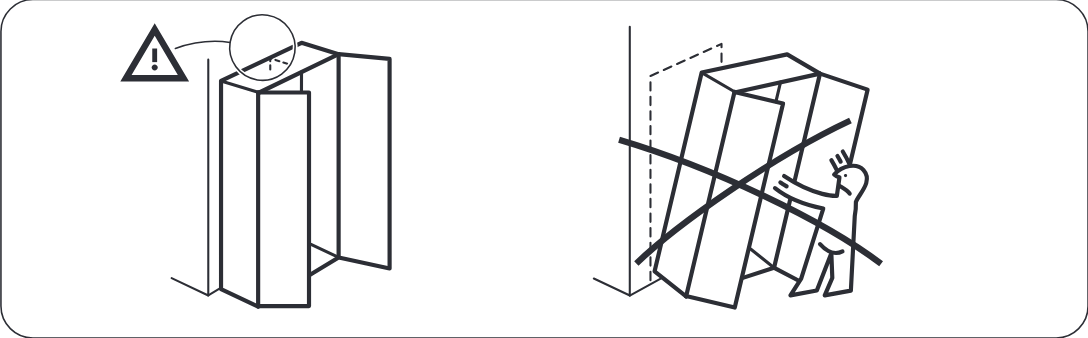
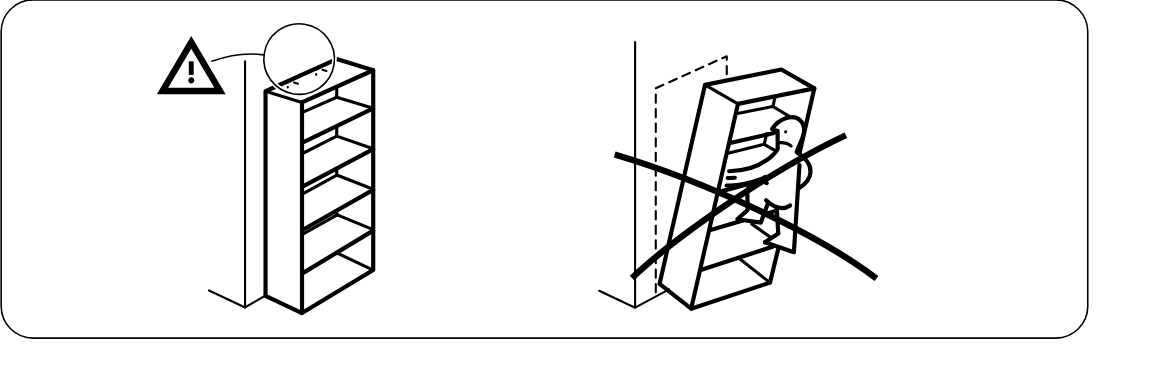
Warning panels show the tall shelving unit must be secured to the wall and must not be climbed or used unsecured.
Step 1
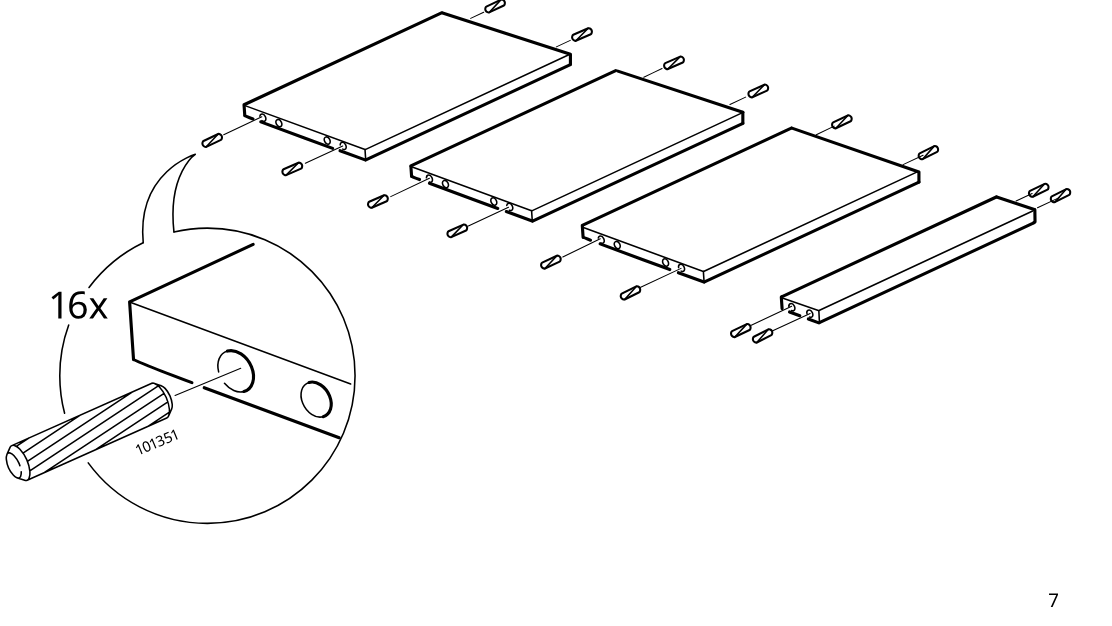
Insert sixteen wooden dowels into the predrilled edge holes of the three large panels and one narrow panel, as shown in the zoom detail.
Step 2
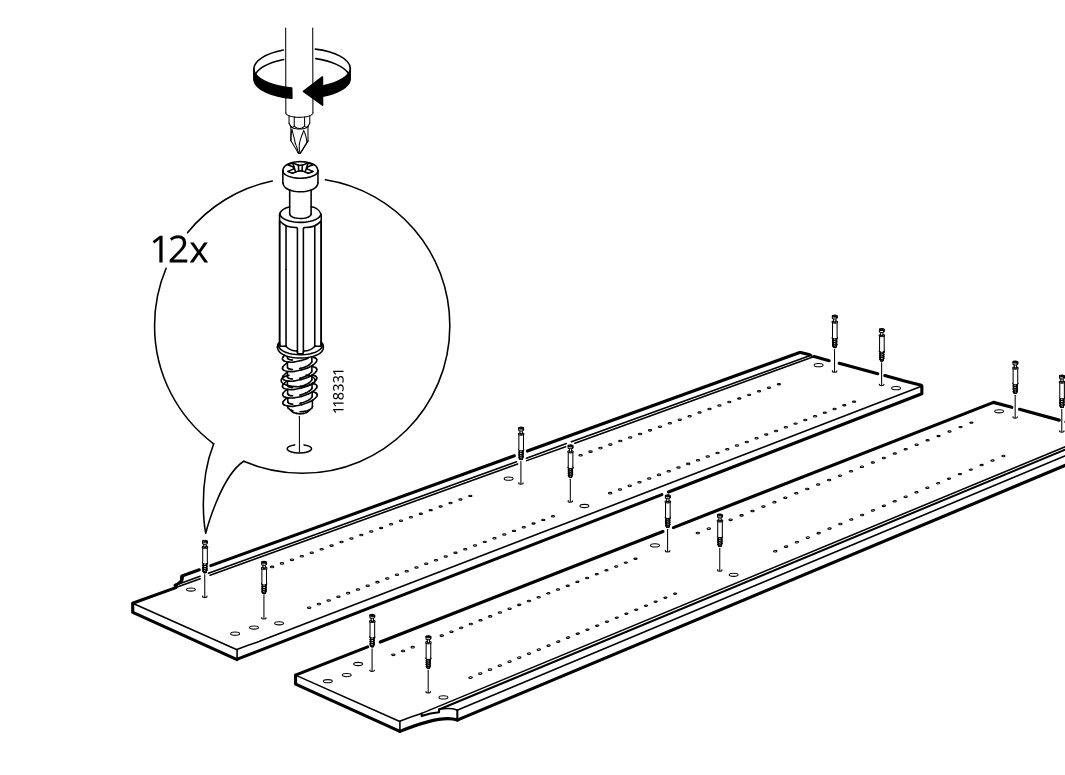
Screw 12 cam bolts into the predrilled holes of the long panels with a screwdriver.
Step 3
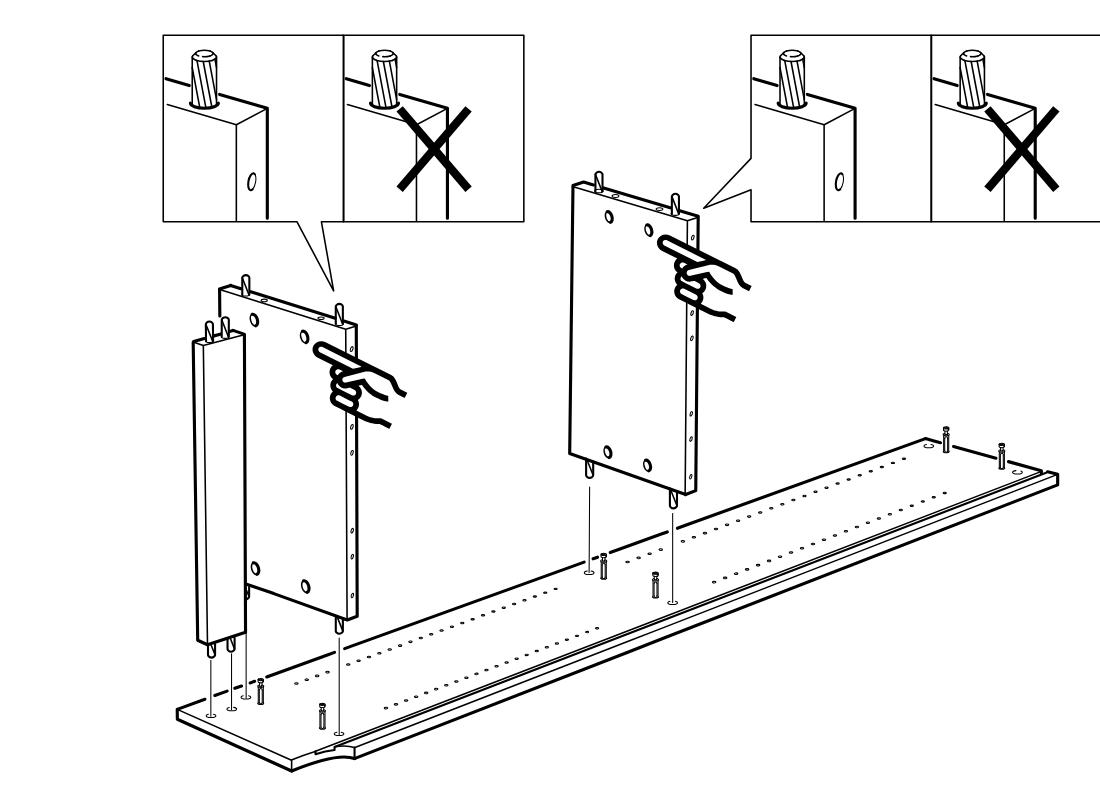
Align the side panels with the dowels facing correctly and lower them onto the cam bolts in the long bottom panel.
Step 4
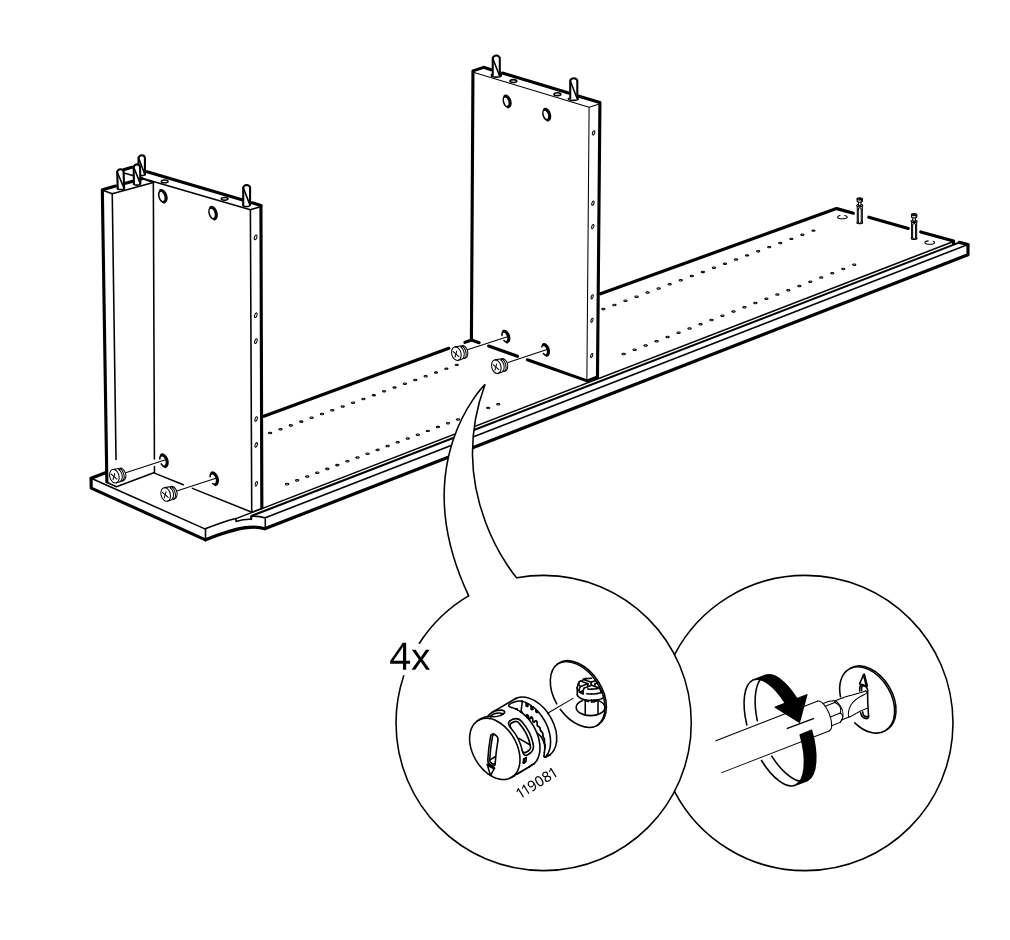
Two vertical panels are positioned onto the long base panel and four cam locks are inserted and turned to secure the connections, with zoom callouts showing the cam part and locking direction.
Step 5
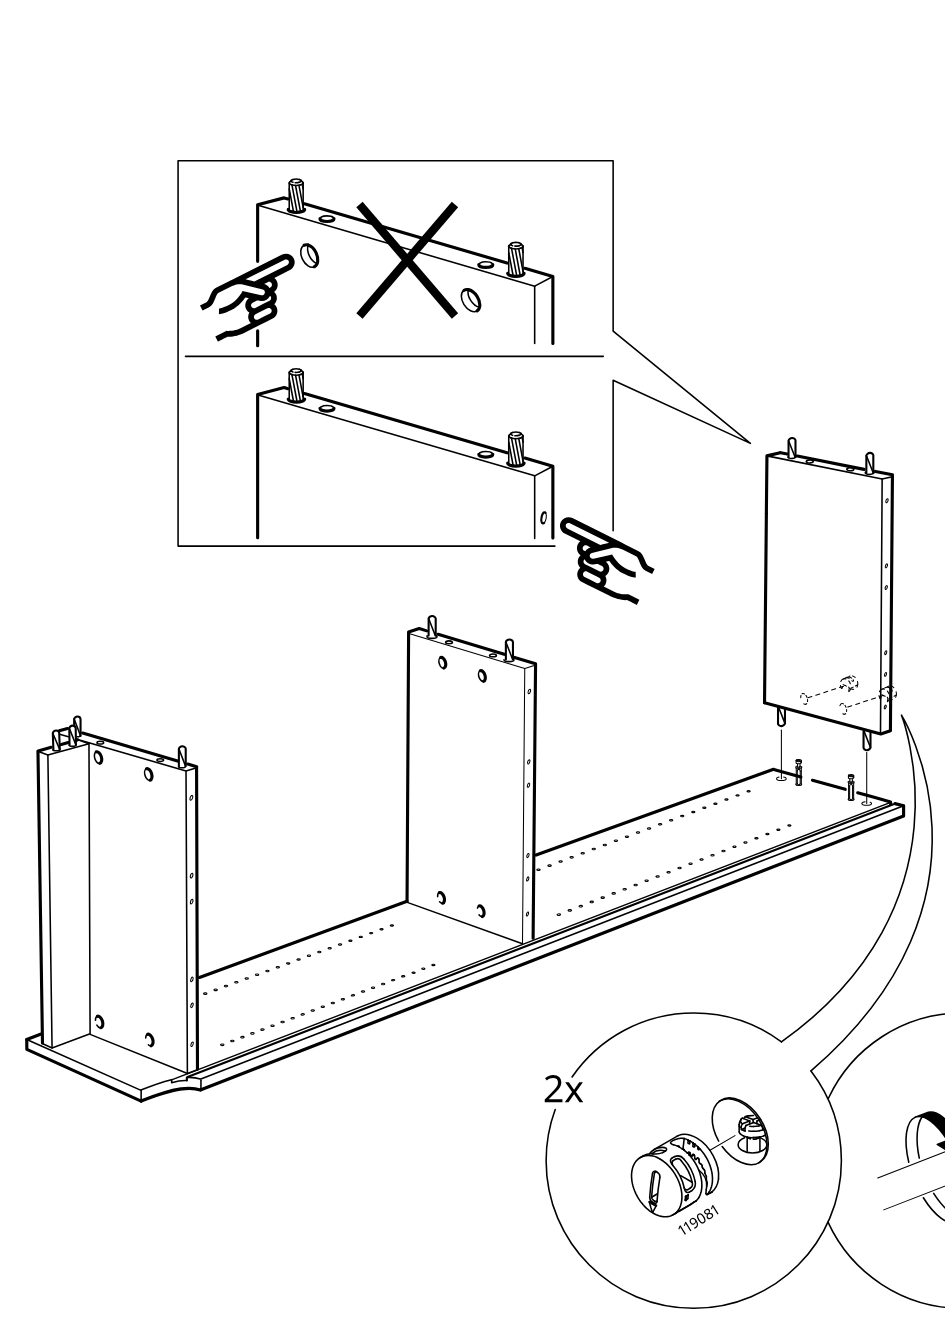
Three vertical panels are positioned onto the base panel with dowels aligned correctly, then two cam locks (119081) are inserted and turned to secure the right panel.
Step 6
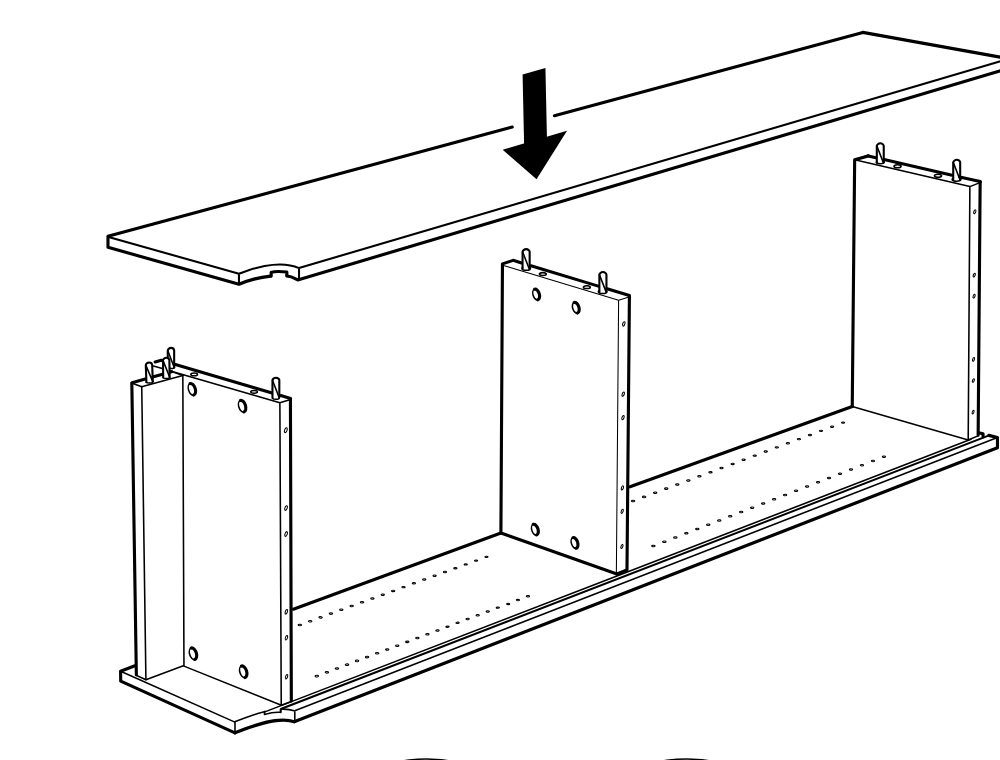
Place the top panel down onto the three upright panels and base assembly.
Step 7
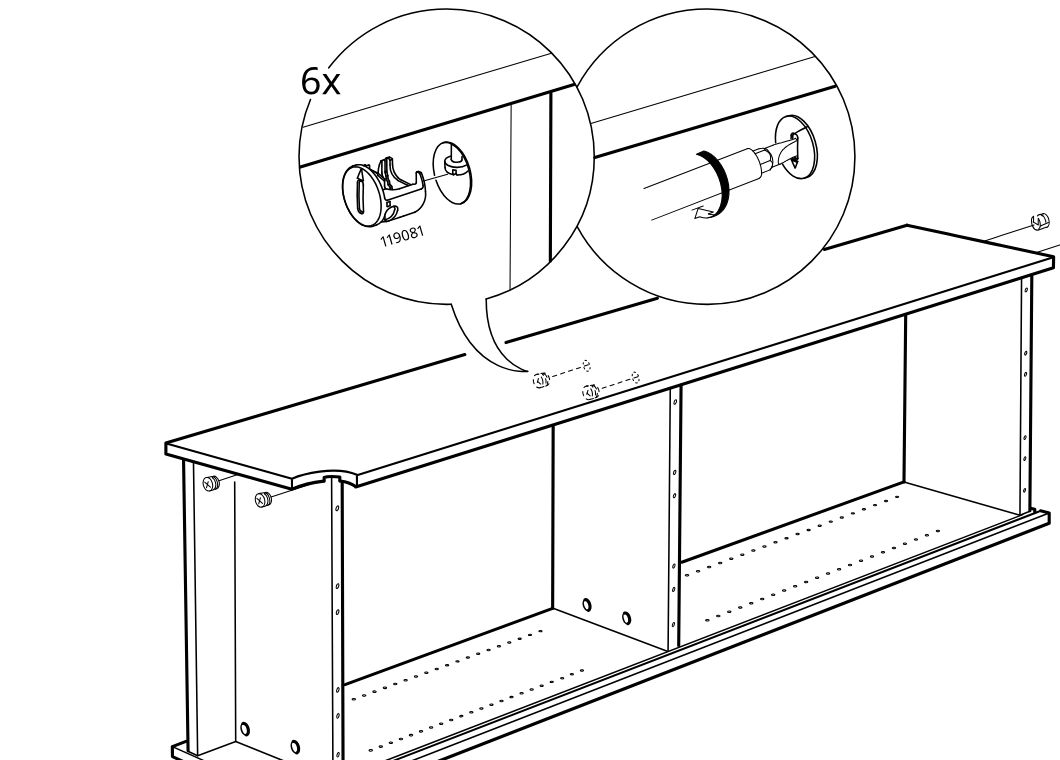
Insert and turn six cam locks to secure the top panel to the side and center panels.
Step 8
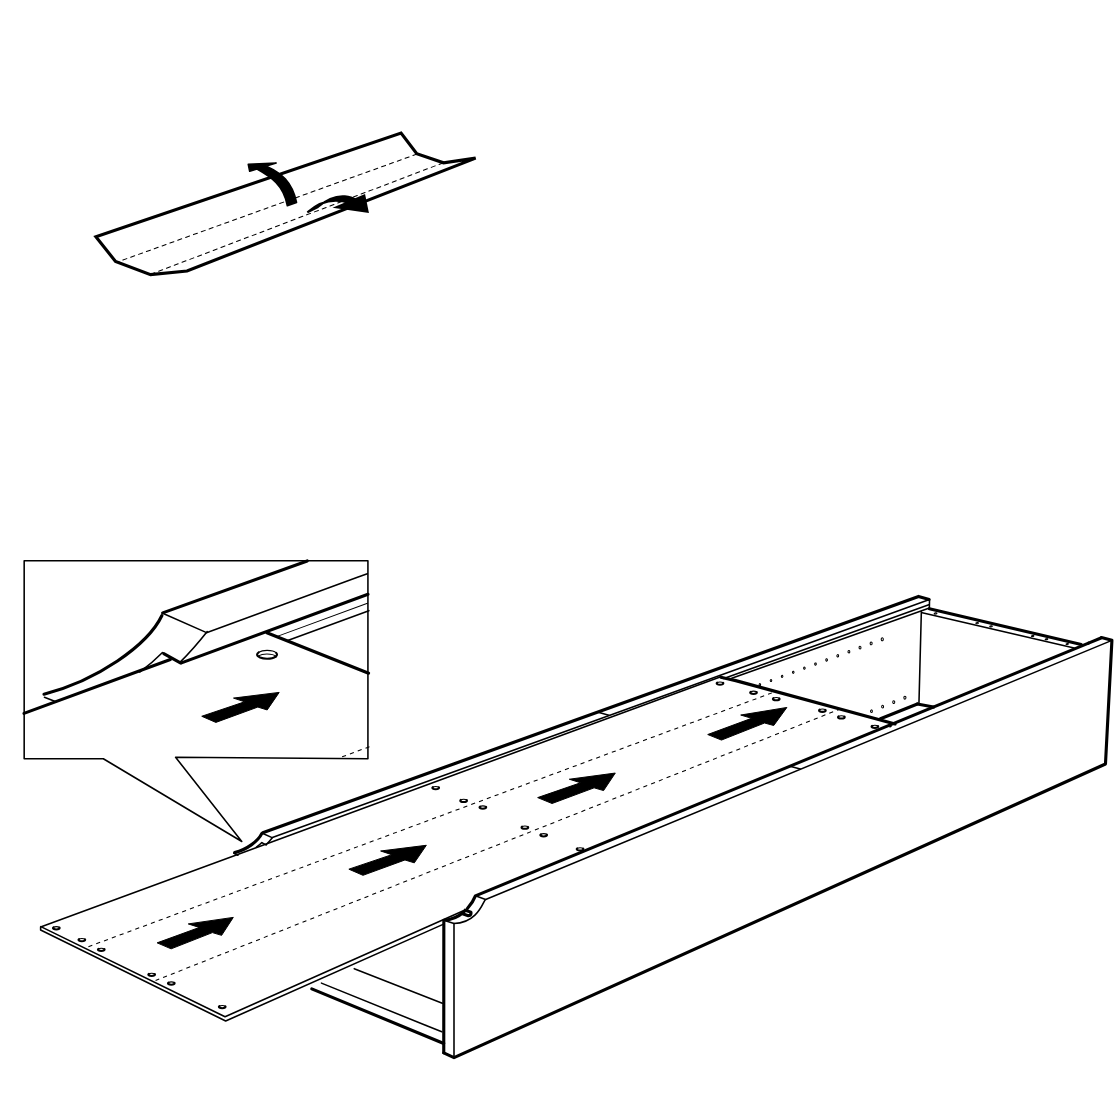
Fold the long panel along its scored line and slide it forward into the cabinet frame, aligning the edge detail as shown in the zoom inset.
Step 9
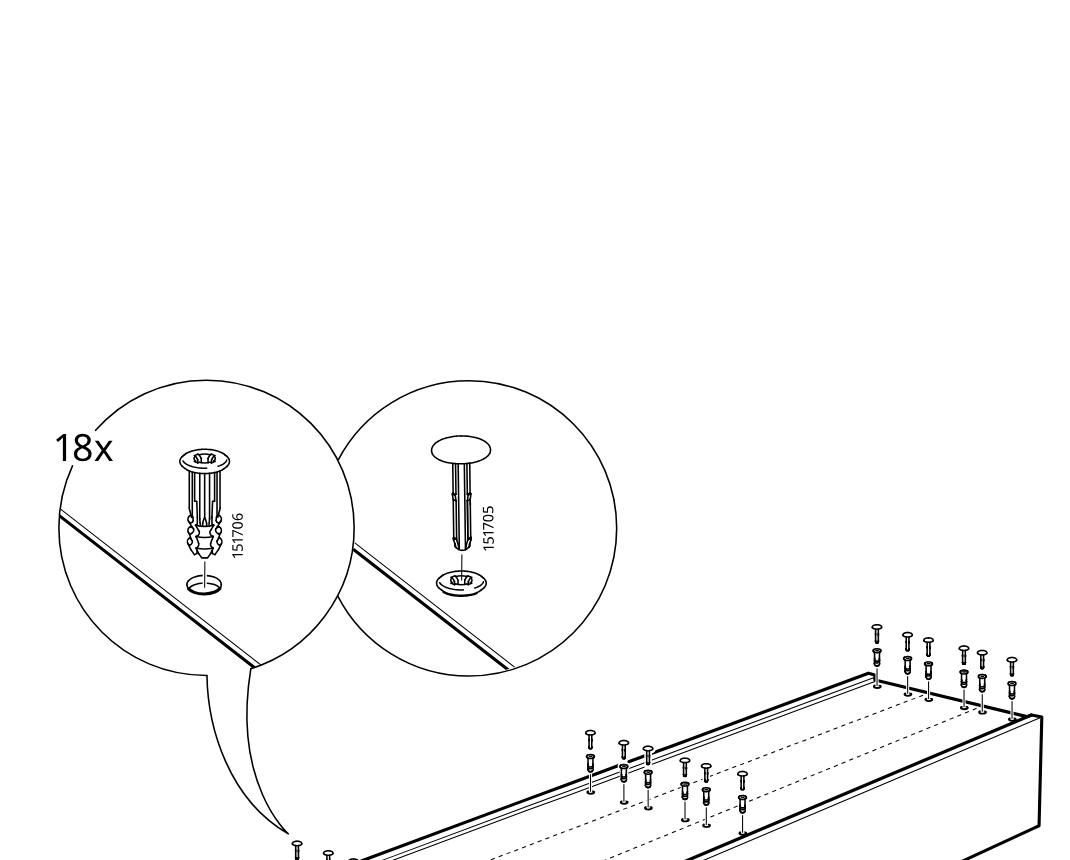
Insert 18 plastic plugs and cover caps into the row of top holes along the long panel, following the two zoomed insertion details.
Safety warning
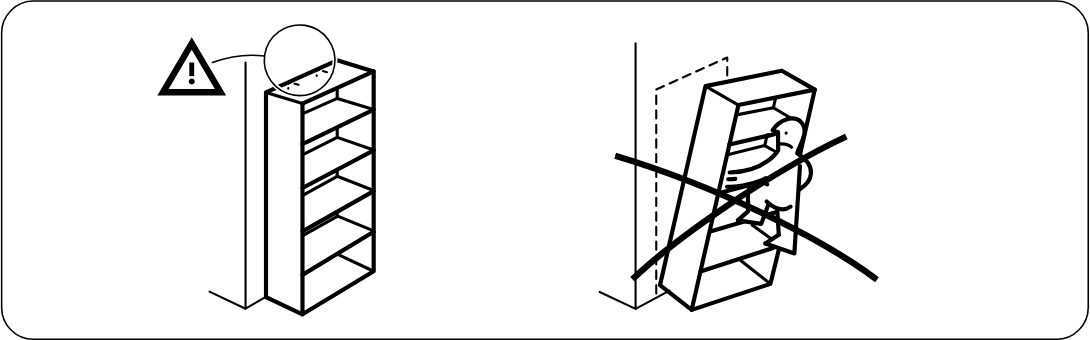
Top bordered warning panel shows the cabinet must be secured to the wall and must not be climbed on or used free-standing in a tipping situation.
Step 10
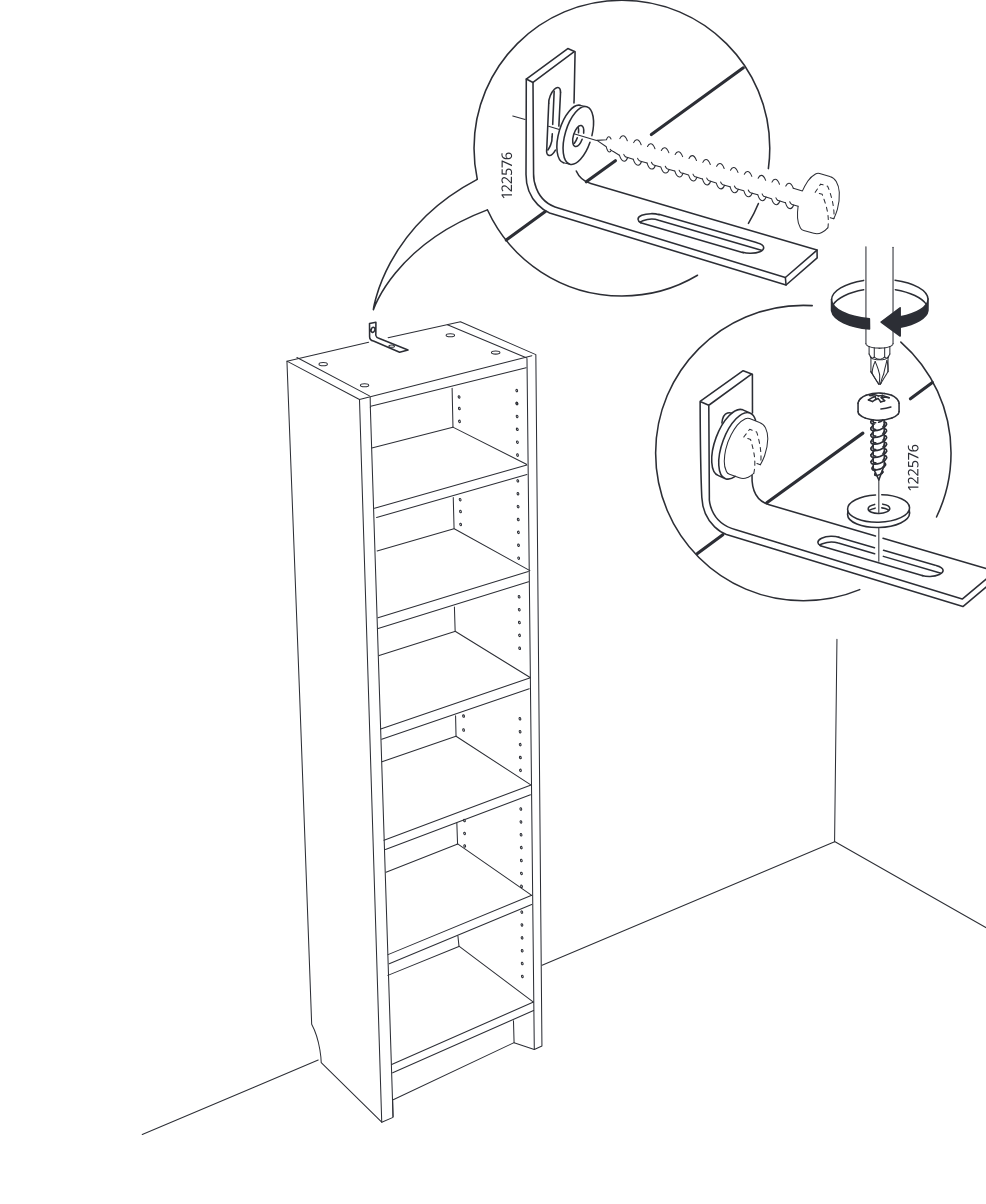
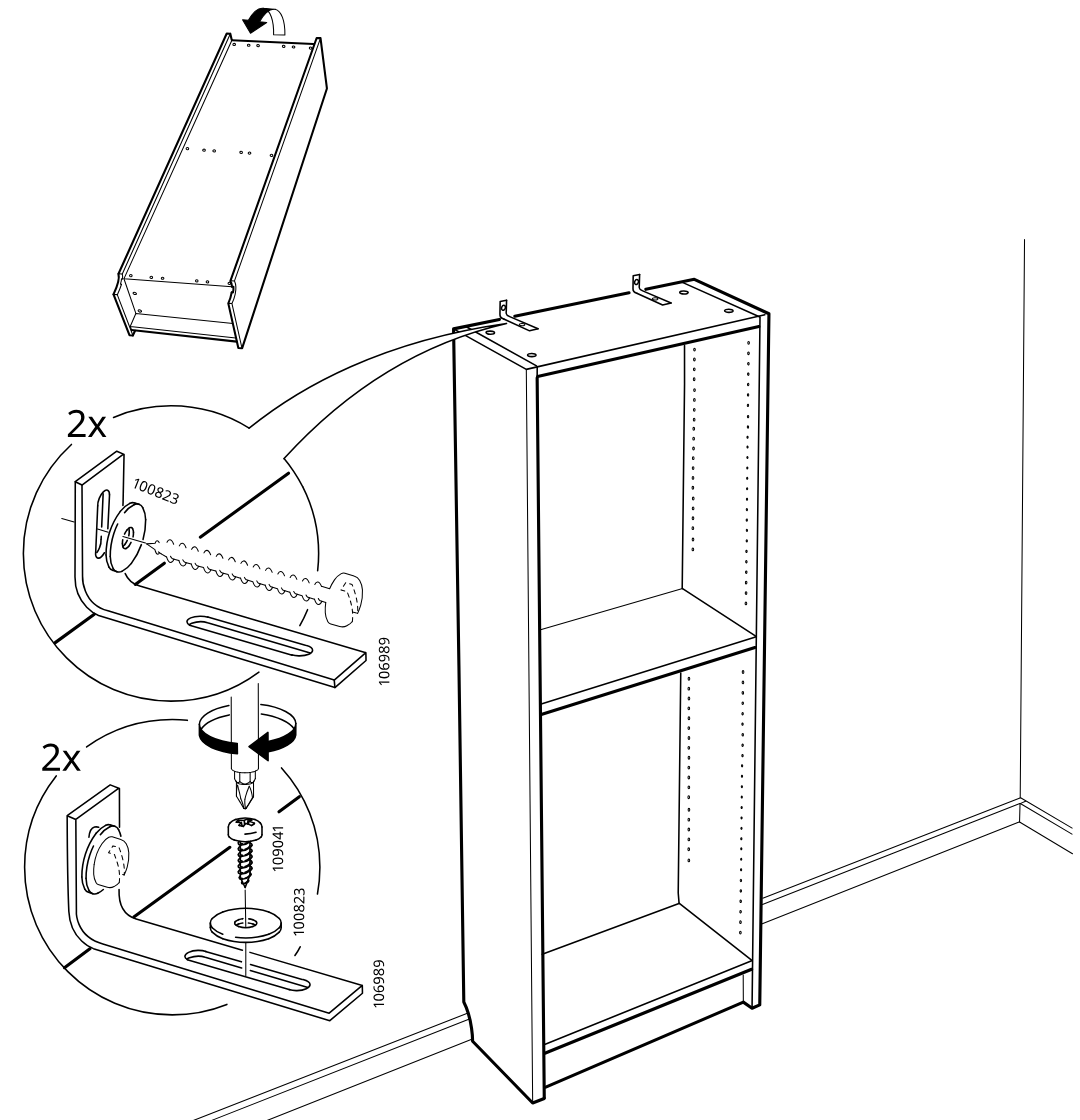
The cabinet is positioned upright against the wall and two wall brackets are attached and tightened at the top using the shown screws and round fasteners.
Step 11
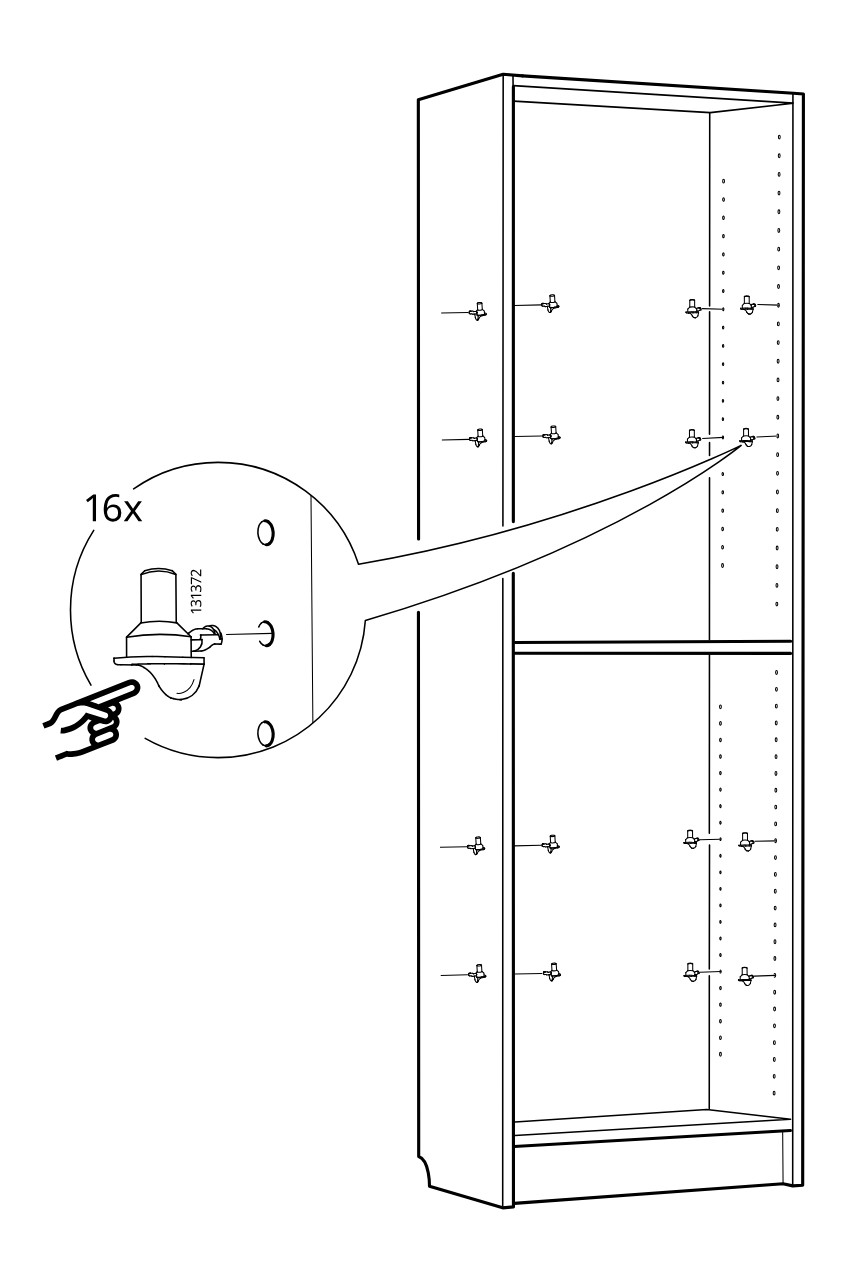
Press 16 shelf support pins part 131372 into the side panel holes inside the cabinet, as shown in the zoom callout and distributed across both upper and lower sections.